Taking that first step towards home mixology is tough going.
For one, you’re always chasing a high; maybe it’s your favourite drink at your favourite watering hole, or that one perfect cocktail you had on that trip to who-knows-where.
Then there’s the constant nagging feeling that you simply can’t do it as well as the pros. After all, those mixologists you so envy have been playing with their jiggers for years. They’ve got dehydrators, rotovaps, and whatever else those fancy cocktail places use these days.
What we often forget, though, is that – at home, at least – we can throw performativity out the window; just make sure nobody’s hanging out below, first. All we really want, at the end of it, is a decently drinkable drink to take the edge off after a long day of work, or maybe a decent batch to pour for friends at dinner.
Besides, nobody’s watching; and even if there were a couple of prying eyes, the fact they’re in your house means you trust them enough to let them in the door, so what’s a couple of imperfections?
But then comes the question: Where to begin? Certainly, not a dehydrator or a rotovap.
Here, we’ve broken things down, with a handful of essential tools you’ll need to get things going. We’ve also got a few (non-sponsored, non-affiliated) recommendations for stuff we’ve tried and like enough to use on the regular.
What you’ll need
The good news is, if you’ve got a decently stocked kitchen, you won’t need many specialised tools. For the most part, you can get away with using everything already in your kitchen to mix a good drink.
There are, however, just a handful of things you won’t be able to avoid buying.
A shaker
Case in point: You can’t quite slap together two coffee mugs full of rum and pray nothing will come splashing out when you start shaking.
A shaker serves a few purposes:
- First, it aerates whatever’s being shaken; this is especially important for drinks like a daiquiri or cosmopolitan, where you’d want that light, frothy texture.
- Second, with the addition of a few ice cubes (see #2 below!), a shaker gets drinks cold – fast, much faster than with stirring. You’ll also get some much-needed dilution, and, if you like, those little flakes of ice in the final mix.
Shakers come in a few form factors, but we’re partial to the Boston shaker – particularly the tin-on-tin – for its simplicity and how easy it is to clean.
Other types, like the Cobbler shaker, which comes with a built-in strainer, can be a pain to scrub down.
You’ll find plenty of options at every price point, but we recommend anything that’s made of just steel: no vinyl wraps, no odd leather grips. Those are more a recipe for dishwashing disaster than good cocktails.
We like the 800ml Boston shaker from Made for Drinkers, though at about S$40 it’s a little on the pricey side (you might be able to get it on sale, though). Realistically, any affordable option on Shopee or Lazada should do perfectly fine; those are priced mostly around S$15, by our checks.
In a pinch, a good old water bottle also makes for a good shaker. Just make sure it’s well-sealed, so you don’t get whatever it is you’re mixing all over the place before you get to drink it.
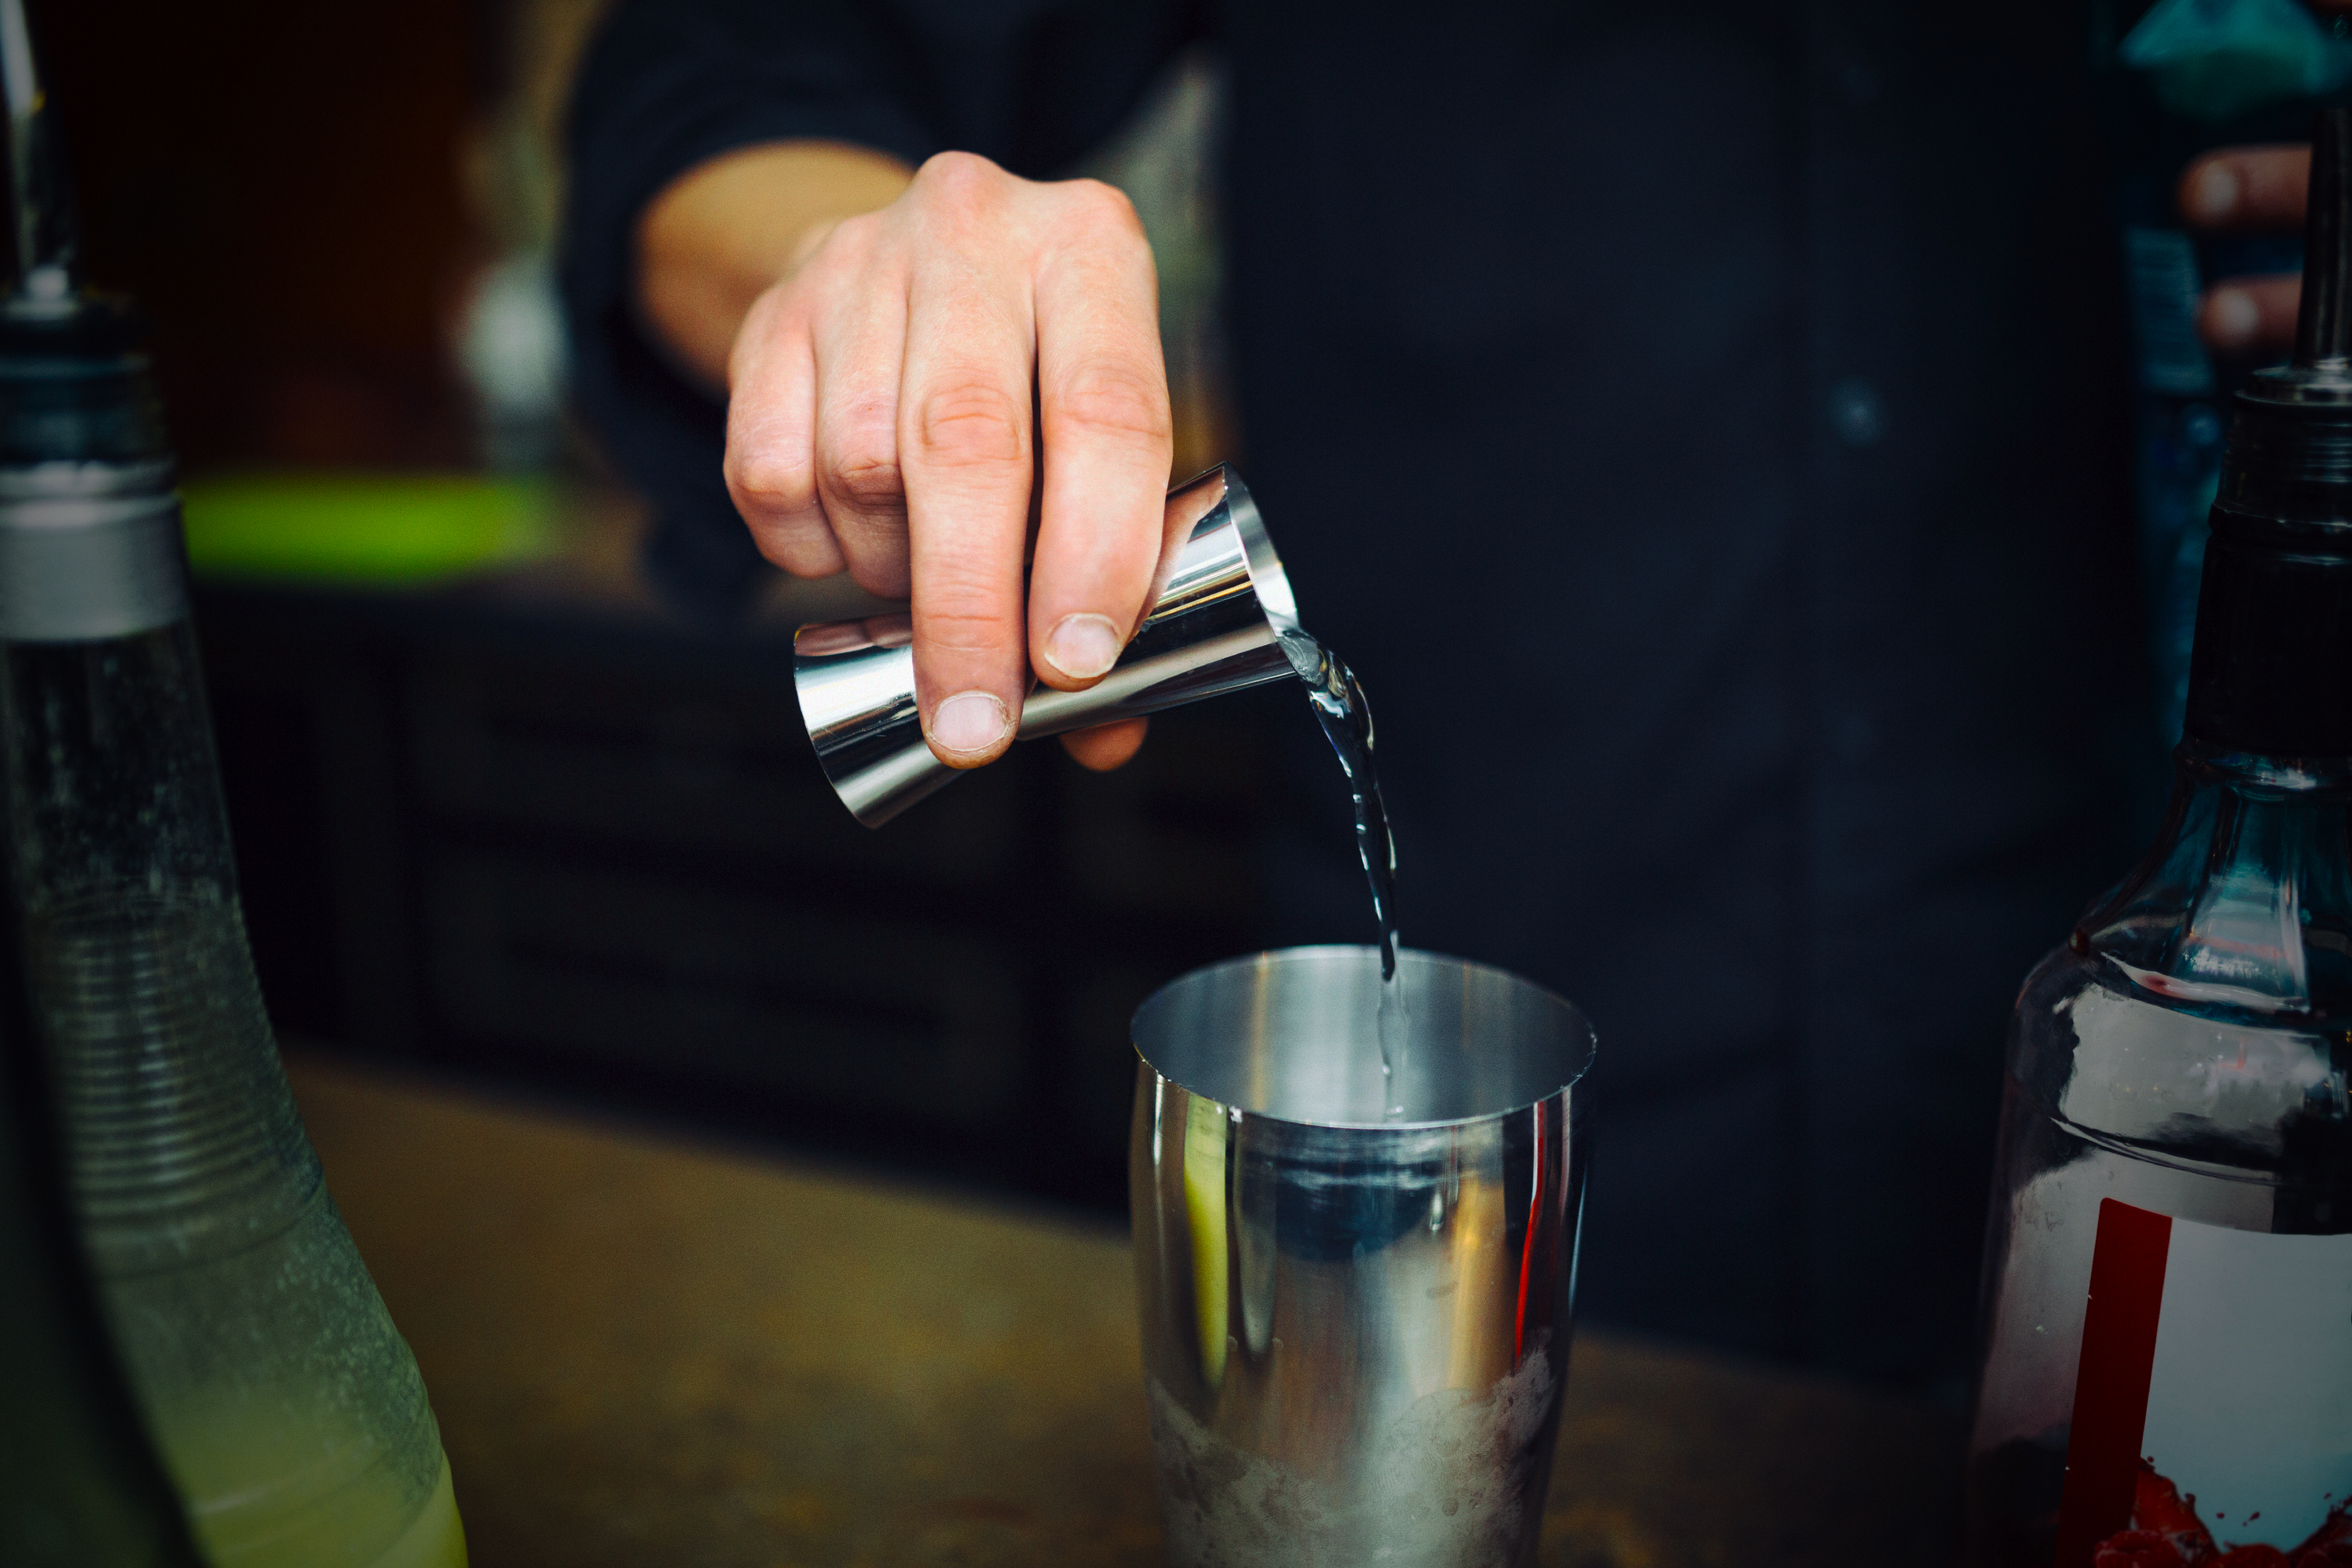
A jigger
Nope, it’s not a misspelt Jay-Z alter-ego; it’s a jigger, a miniature measuring cup.
Usually, these come with markings for half an ounce, a full ounce, 1.5 ounces and two ounces. In our native speak, that’s 15ml, 30ml, 45ml and 60ml. They’re pretty much a need, unless you’re in the mood for pouring things out into teaspoons and teeny measuring cups.
The jiggers we like best are the double-ended sort, with a 30ml cup on one end, and a 60ml cup on the other. (Any one – in steel, as always – is good, in our book.)
There’s also the 15ml/30ml kind, but we find those measures are far too small, and unnecessarily extend the time we need to make each drink. Besides, the bigger ones usually have lines indicating half or three-quarter ounces, too.
Another “jigger” worth checking out is a measuring glass typically used in coffee-making. These make it a little easy to eyeball measurements, since they’re see-through.
The 75ml measuring glass from Cowpresso Coffee Roasters is one option, though the tiny handle isn’t exactly the most practical. We use it for its intended purpose: pulling shots out of our barely standing espresso machine.
We prefer the OXO angled measuring cup, which goes up to 60ml and works well; it’s plastic, too, so it’s less prone to shattering than glass.
The only sort-of catch is that it’s not always available on official OXO platforms; we got ours through a third-party seller on Shopee.
A strainer
Once you’re done shaking or stirring your drink, you’ll need to pour it out into a glass, either with fresh ice or no ice at all, depending on what you’re having.
Sadly, if you want to get rid of the ice, seeds and pulp in your mix, your pasta colander and baking sieve won’t work. (They would, actually, but we don’t think you’d enjoy the process.) What you need is a proper strainer – in particular, one that fits nicely on your shaker – and some practice.
As always, there are a couple of types to sift through (pun intended). The most common, and our preferred variety, is the Hawthorne strainer, which has a spring around its edge. Be sure to get one with prongs around its edge; these help it fit onto a wider array of strainers and glasses. Ours came from a cocktail set, but there are plenty of decent ones from all around for good prices!
The other common type of strainer is the Julep, which we’re told is better for stirred drinks. Ours is a rather pricey option from Viski, and we have to say we’ve found no real difference in terms of how the final drink comes out. It’s a little less handy than the Hawthorne at catching bits of stuff, but we’ll admit it is much easier to clean.
A big ice mould
Those fist-sized ice cubes and spheres you see in bars aren’t there only for their looks.
If you’ve ever had an Old Fashioned that’s sat on the counter for too long, you’ll know how important avoiding excessive dilution is. The little cubes that come out of your freezer’s built-in tray tend to yield too easily on hot days, leading to a warm, watery drink.
Big chunks of ice, on the other hand, take longer to melt.
If your freezer has the spare space, go for individual moulds. These are much, much easier to pop ice out of than trays, which can be finicky to handle.
We received a set of two Tovolo spherical moulds for a birthday a few moons back, and we’ve got no complaints. They’re stackable, too, so they don’t take up quite as much room.
If you decide to go with a tray, make sure you’re getting something that’s made of food-grade silicone. We see loads of listings floating about on the usual e-commerce sites for just a few dollars apiece, but we can’t say anything about their quality.
A citrus reamer
When you’re making cocktails at home, you’re probably making just one drink, if not a small batch.
Now, most recipes call for citrus juice, and fresh is always best, but having to crank out a full-on electric juicer is quite overkill, especially since you’ll probably only need one fruit’s worth of juice, if that. A reamer is a low-tech, and more importantly easy-to-clean, solution.
We like the handheld variety, which takes a bit more finessing but can be a tad more efficient. By wiggling it around, you can more or less get to every bit of pulp and get the juice out.
Our Catcher citrus reamer from Joseph Joseph does the job, plus it has a little curved lip to catch seeds. The bright yellow hue doesn’t quite match the rest of our tools, but we’ve come to like the pop of colour.
Final thoughts
And that makes four. Everything else you’ll need to get things moving and shaking should be in your kitchen already. You’ll see recipes calling for all sorts of fancy tools, but for the casual home mixologist, these would likely end up becoming single-application appliances.
Unless you have plenty of empty drawers in your kitchen, going minimal is for sure your best bet. Stick with it, and happy drinking.
Leave a Reply